Showing posts with label paint. Show all posts

Thursday, August 18, 2011

Our First Paint Job - Success!

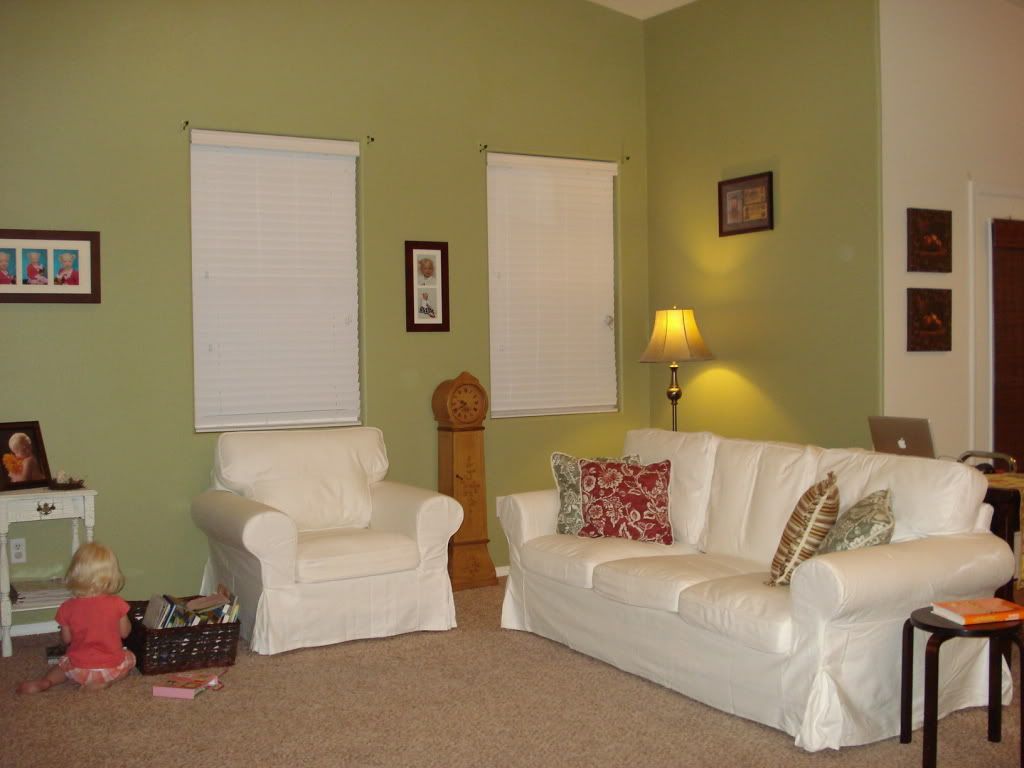
I know it's been a while since I last posted but I have good reason, I wanted the living room to be as put together as possible so I could provide a whole slew of pictures and with that let the show begin!

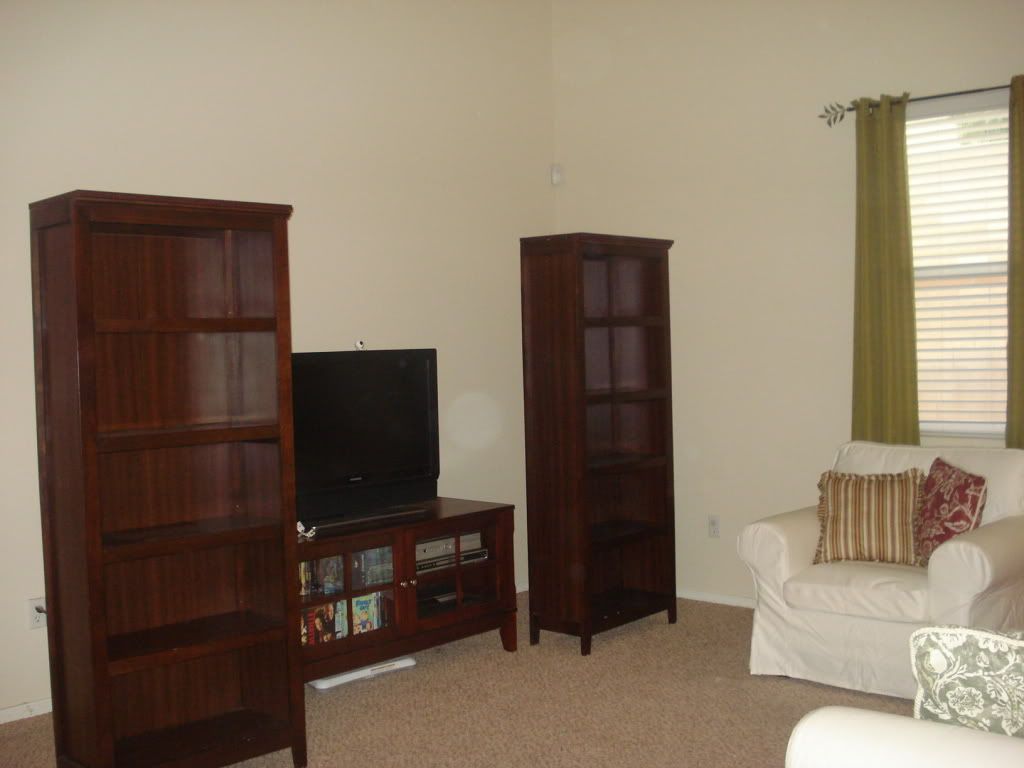
I love how Ektorp and his chubby little friend pop with the green (Mother Nature from Behr). There's my Maria Tortilla to the left, she loves that I put her books in a basket.
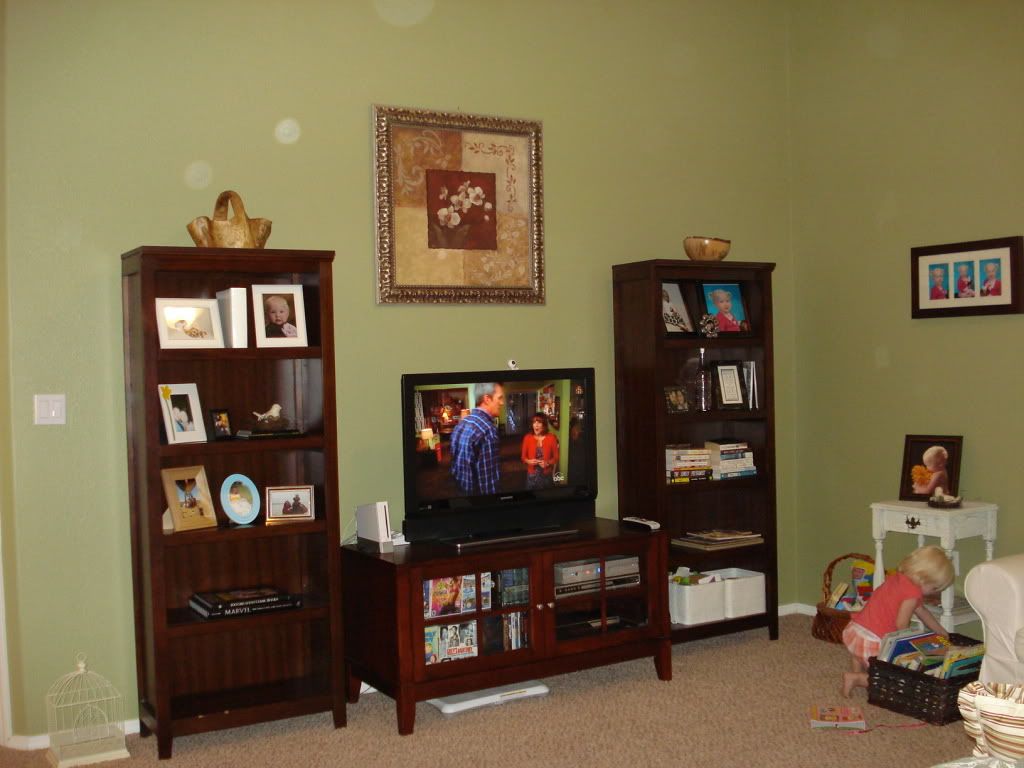
I love the way the white, dark wood, and green all play off each other. I'm trying to find a spot for my birdcage but for now it'll sit on the floor. I do have a couple of little birdies sitting around the room so I figured the birdcage would finish the theme.
My brother gave me this artwork years ago but I never got around to hanging it until I discovered the Hercules hook. They are awesome and now my picture looks beautiful against the green walls!

I still need to work on my shelves but I did use the white IKEA frames my mom gave me and they really pop. I'm thinking about replacing all the frames with white ones or just spray painting the ones I have.
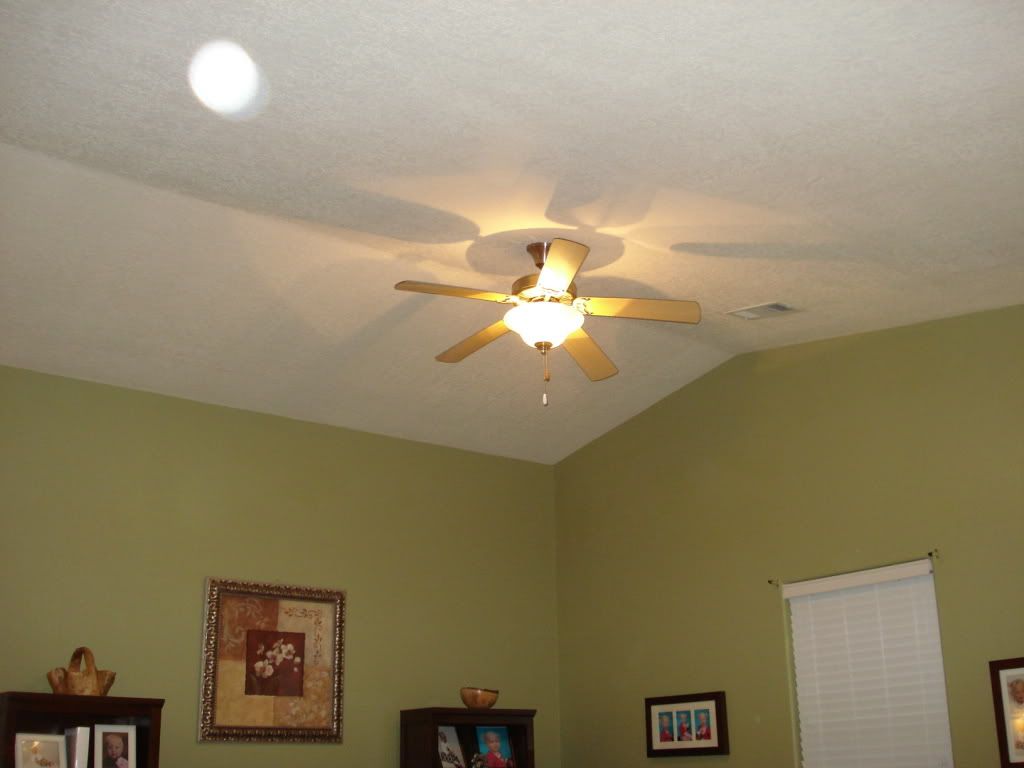
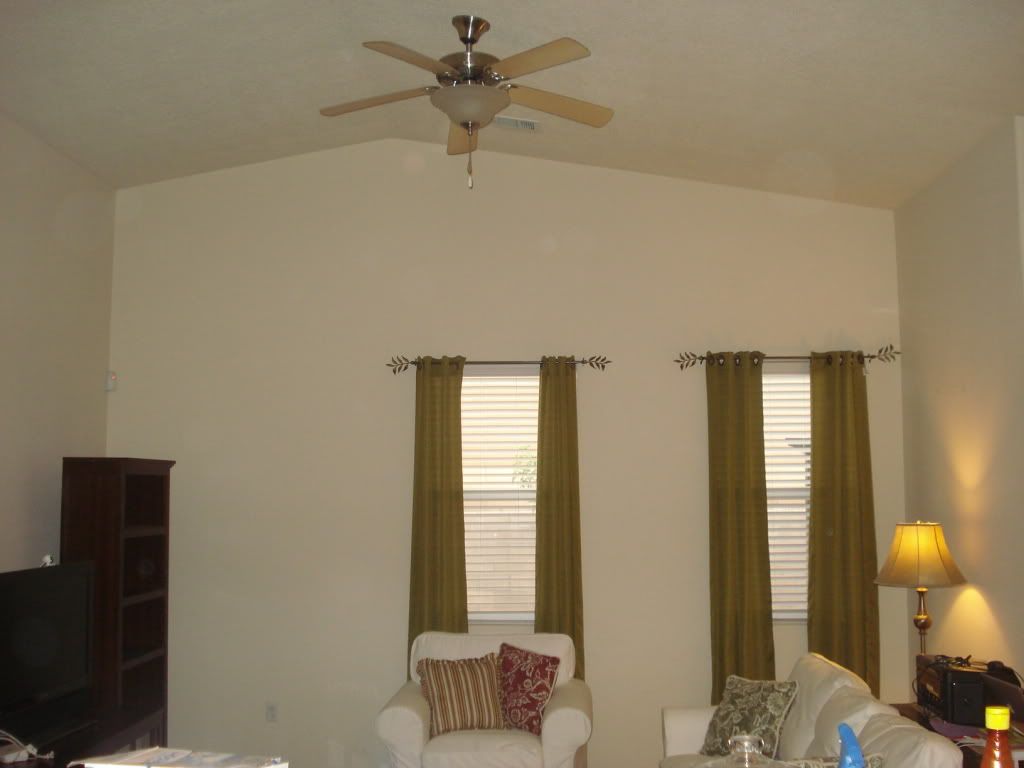
We tried to do all the cutting in ourselves but we screwed it up so we paid a guy to come do it for us, he had a taller ladder and he was a pro and for 80 bucks it was worth not falling! I do plan on turning the fan blades to the darker side to match the rest of the furniture.
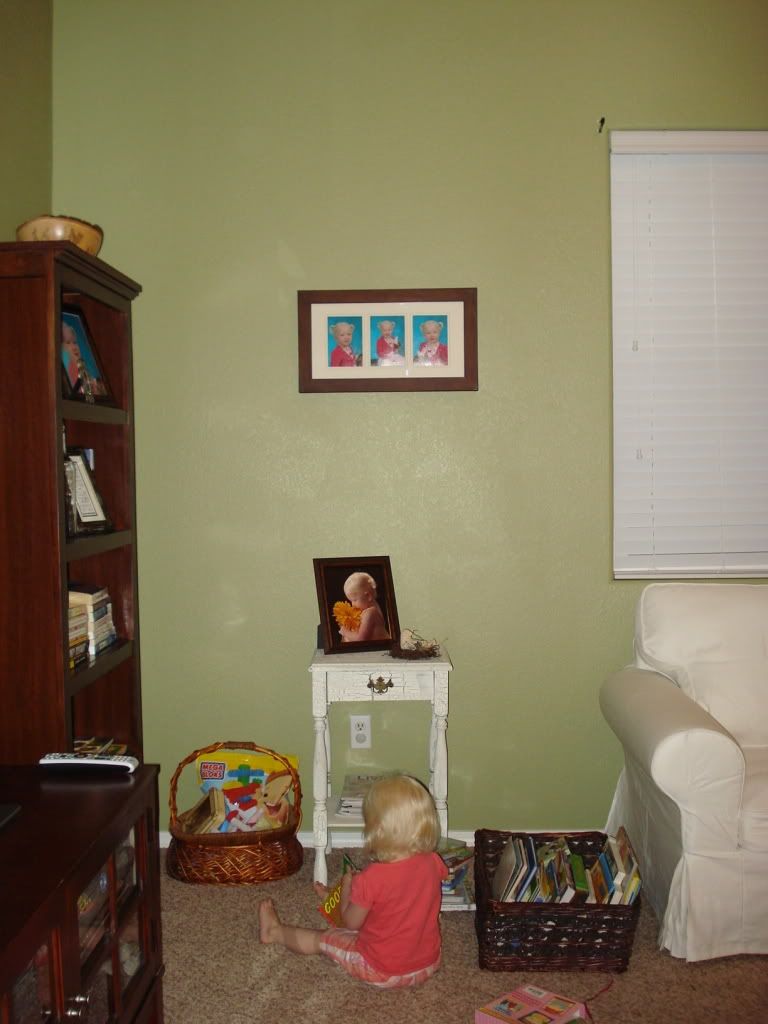
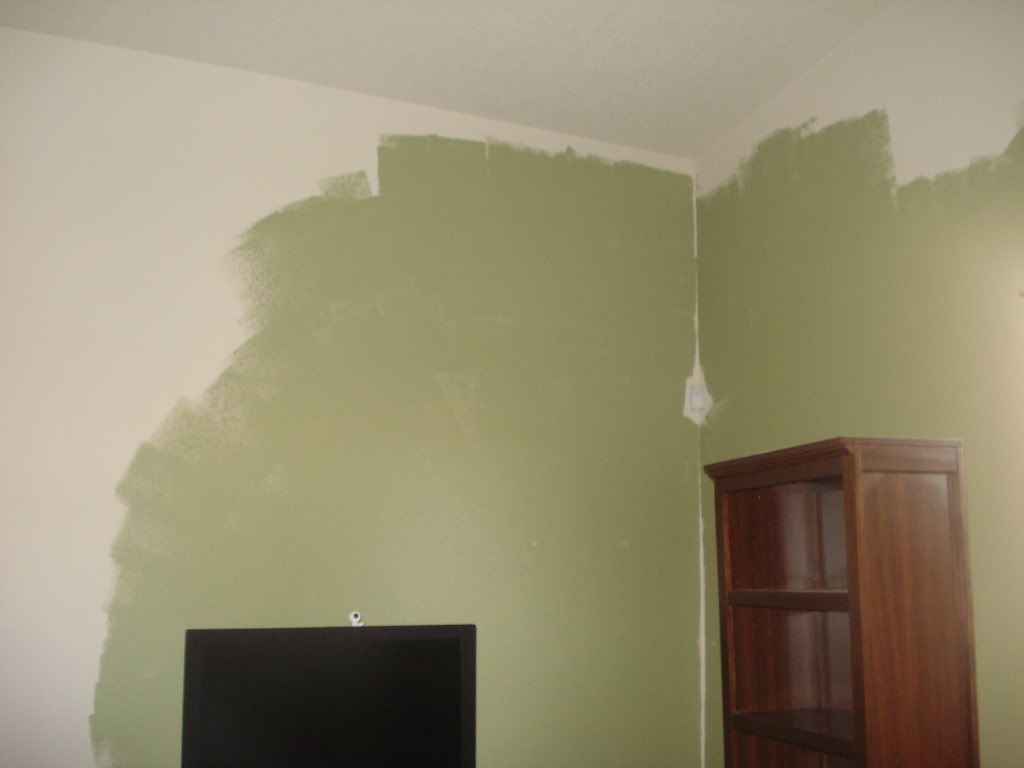
She loves this little nook! Okay back to the living room; I can see where we need to do some touch ups on this section of the wall. We used a can and a half of paint and used the second can for touch ups but we missed a few as you can tell. It's funny you can only see it with the flash of the camera.

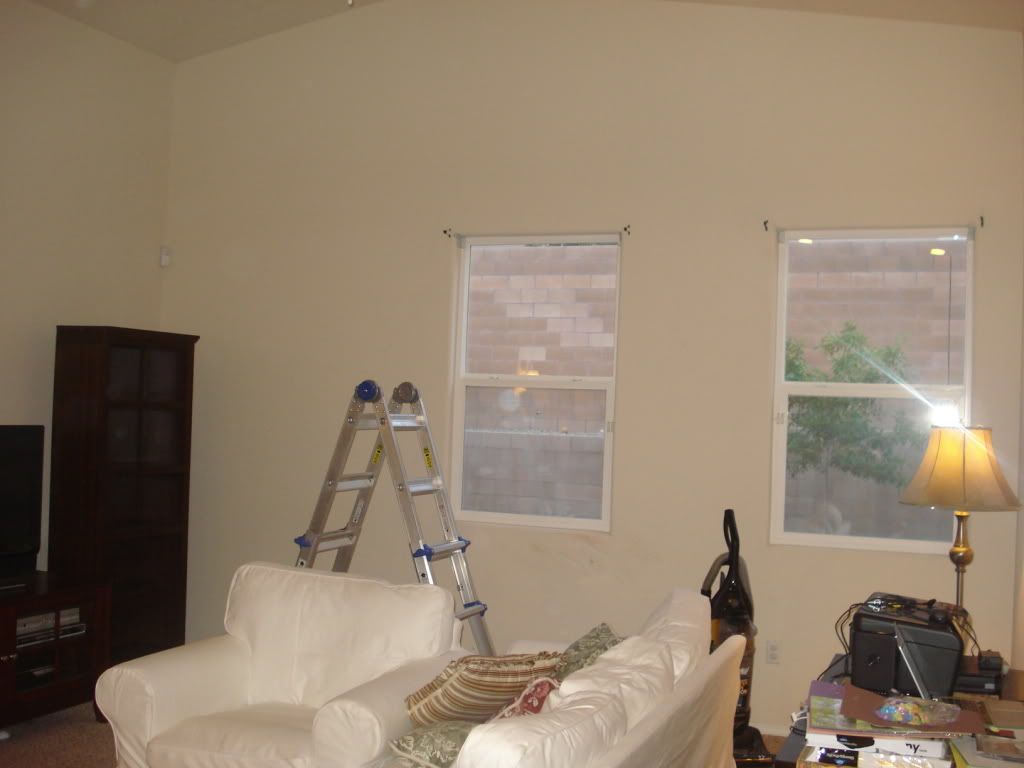
The Before Pics:
Pretty blah huh, too plain for me and after living in the house for over 3 years I needed a change.
The dark wood worked okay with the light walls but the stars of the room did not, the couch and chair just didn't pop the way I wanted them to.
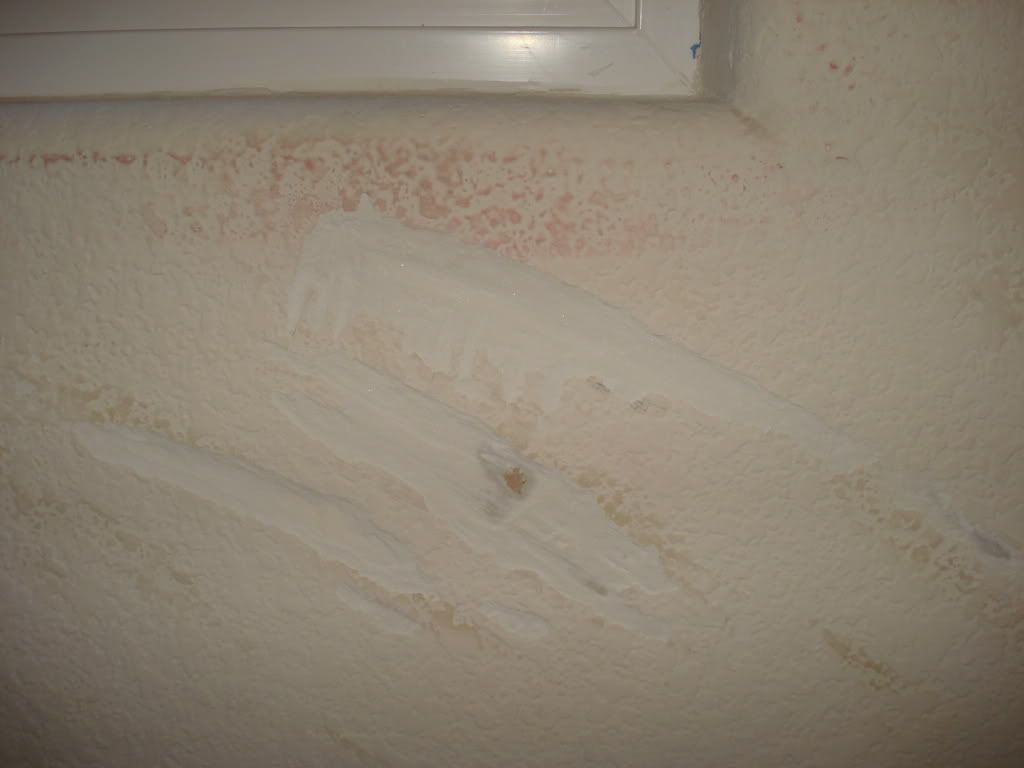
We had to tackle some wall repair before we started painting, which was fairly easy with some textured patches from Home Depot.
Getting ready to paint!
Isn't it a pretty color!!
With curved walls it was hard to determine where to stop. We decided to paint the curve and it turned out great!!
The Screw Ups!!
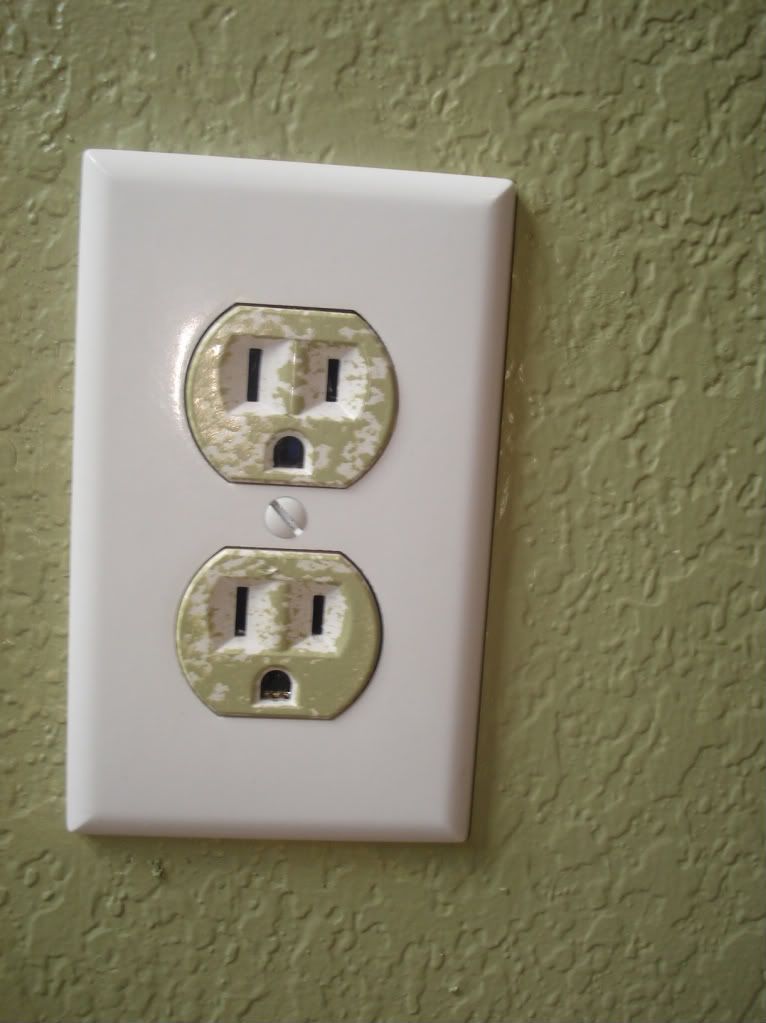
This is what happens when you get roller happy at 2 in the morning! (Our outlets are vertical, just didn't rotate the picture)
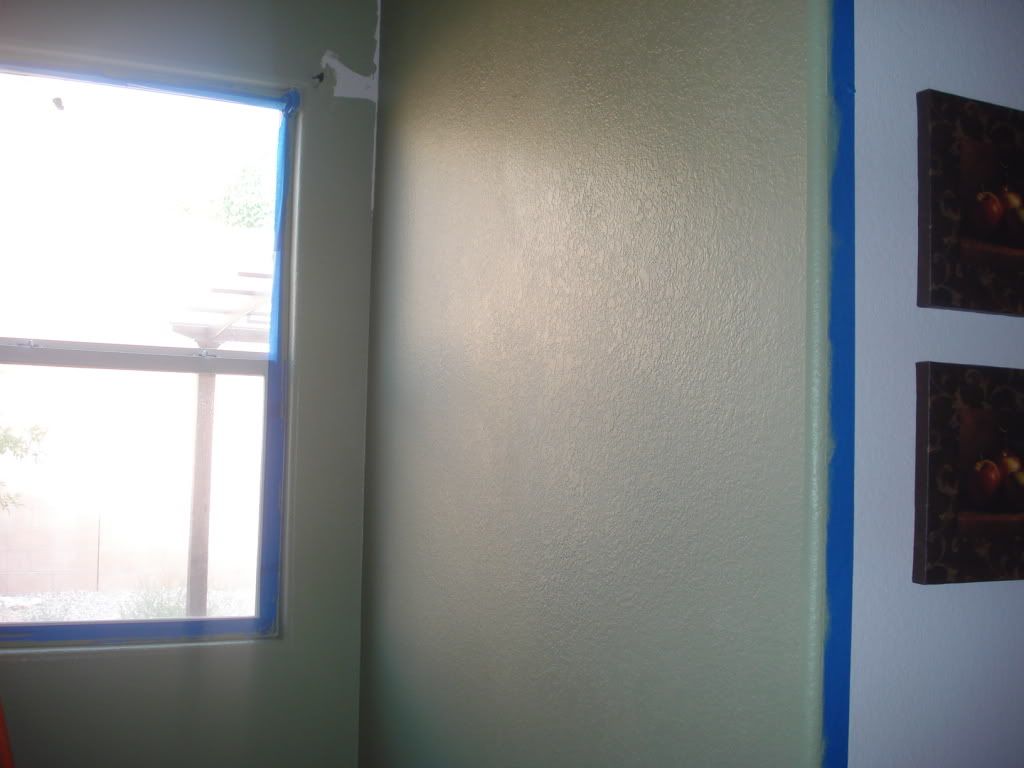
Problems: the tape pulled the paint, which means we probably didn't let it dry completely and we suck at cutting in!
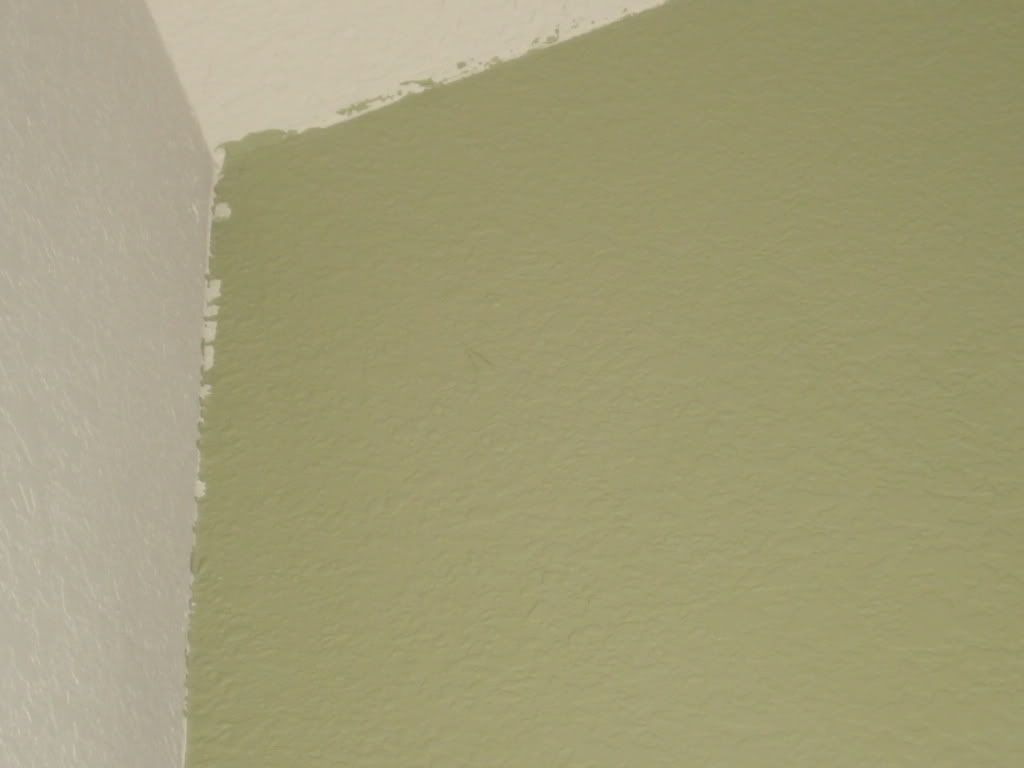
We forgot to put the tape in this area and just went for it and well you know how the story ends. (didn't rotate pic) Everything has been fixed by a professional!
So there you have it, the After, Before, and the middle (This will probably be how my first book goes too... lol)

So there are still a few things to do:
  • Get curtains (white)
  • Paint frames white that will go on the shelves for a pop effect
  • Get an area rug for the center of the room right in front my Ektorp
  • Add green and white accents around the room
  • Clean up desk behind couch. We really just need a filing cabinet.
  • Get a shelf with doors to hide all our DVDs, games, etc. (Right now they're in a bin behind Ektorp.
Next is the dining room and kitchen, but we're gonna have the same guy, who came out to do the edging, do these rooms for us. For a 150 bucks and we buy the paint, sounds pretty good to me!!

So there's our first paint job, Riley and I rocked it with a few bumps in the road.

Here's where I'm linking up too:


36th Avenue


Join  us Saturdays at tatertotsandjello.com for the weekend wrap 
 up           party!


Tip Junkie handmade projects

Monday, August 8, 2011

Bringing the Outdoors In

Since we bought Ektorp and his little chubby sidekick I've been wanting to completely revamp the living room, so the first place I looked was a little ol' blog called Young House Love. They have this section called mood boards and they are so fun and uber inspirational. In fact I found a mood board featuring Ektorp and his chubby pal and it's exactly the direction I needed.


It's a great color combo right! I love how earthy it looks and I heard once "Whatever works in nature, will work in your home."

So today my mom was looking through her Martha Stewart living magazines and I think we found the perfect green. It's called beach grass. It's the green furthest to the right.


So what do you think?

Friday, July 1, 2011

July Came Out of Nowhere!

Holy Crapola, it's freaking July already, where did the time go, where did June go, where did May go for that matter.

Okay projects for this month:
  • Use the Yellow Rit dye I bought last night to make a plain old white cardi seem new again
  • Finally buckle down and paint the mirror my MIL bought for Maria's room
  • Grow a pair and venture into the realm of wood working, I'm dying to make the Pottery Barn table I've been drooling over for forever
  • Bring out the sewing machine, find the pedal and attempt to make Maria a dress for Summer, this summer, not next!
  • Finish the garage
  • Declutter the house
So I think that's enough for the rest of the year, not just this month right, ugh I'm so lazy, I promise one of these things will get done this month, ONE OF THEM!!

Happy July 1st!!

Monday, May 2, 2011

Craptastic Crafts - #1

Okay remember like  20 posts ago I was talking about doing crafts, well I finally completed my first craft. It took a totally different direction than originally planned but I'm uber happy with the turn out. So here it is. I've included a tutorial so that you can make the flowers yourself. Have fun doing this, I know I did and it was super cheap, seriously like 3 bucks cheap!


What you'll need:


  • Construction Paper (Dollar Tree)
  • Foam wreath (Dollar Tree) 
  • Pins (I already had these)
  • Yarn (I found this in my closet)
  • Elmer's Glue or any glue for that matter (I used Maria's)
  • Stickers (Dollar Tree)
  • Paint (When they built our house, they left the extra)
  • Paint brush (Home builder's left this)
Draw a swirl on a sheet of construction paper, completely filling up the page:

I used a black pen for this tutorial only, I used a light colored pencil so the outline wouldn't show up. 


Don't worry if your swirl isn't perfect, I discovered the more jagged and uneven the better the roses look!

After your swirl is completely cut out begin to roll it together:


After you're done swirling glue the circle at the end of your swirl at the bottom of your rose.


This is what your rose should look like:


This was my first rose so it looked like crap, but the more I did the better they looked.

Now here is where my craft changed. I was going to fill up my entire foam wreath with these cute little roses but after doing about 10 they weren't so cute anymore and I was just tired of making them. So I left my craft alone for about a month and while I was cleaning out my closet yesterday I found white yarn and suddenly I was inspired.

Wrap your foam wreath with yarn:


After you're done wrapping the wreath arrange your roses any way you like with pins. 


I love the way the yellow pins look in the center of each rose. 

I hung this on my door and again that's where my little craft continued onto my front door.


First I cleaned my door and then painted it with the original color and then I added these cute little stickers I found at the Dollar Tree.


And here is the finished product! I love my door!


Maria loved it!!


Here's where I'm linking up, check out these blogs, I get most of my inspiration here!!
Tip Junkie handmade projects